Well I've been planting more and more seeds, and since they are sprouting and rooting nicely, it is about time to find them homes outside of the seed starting tray. I've been chatting with Judd over at
Mr Grow It All about fun, effective hydroponics systems that can be constructed without too much specialized equipment. The design I'm building here is the design idea he came up with for me, with just a couple small revisions to lower the cost a little. I'm going to be making a few of these (this one in the post is my second attempt) and with each new "model" I'll be making improvements and fixes to issues that I see or foresee arising.
I grabbed two 44" white vinyl post sleeves at Menards. Next time I'll be buying from Lowes, not only because I feel less dirty there, but because the vinyl posts at Lowes are actually wider, giving us more real estate to work with. I set my first 3 inch net cup at the far edge of the post and marked it's center.
I went along the length of the post sleeve, marking out center points for all the net cups I would use (5 per post sleeve on this system). The net cups will end up being 8.5" on center (from center point to center point).
I went up to Lowes and purchased a 3" hole saw.
I then went along the post and carefully cut out all of my net cup holes. The hole saw proved the perfect tool for this job, though special care must be paid to ensuring the drill remains level and plumb otherwise it will bite and bind dangerously.
Once the rough holes were drilled out, they were ready to be refined.
I used Heather's Dremel with a polishing attachment to smooth out the inside of each hole and remove debris. This was VERY effective. The Dremel is awesome.
Another trip to Lowes for several half pieces of 1/2" SCH 40 PVC and end caps.
I slid the capped 1/2" PVC into the vinyl post sleeve.
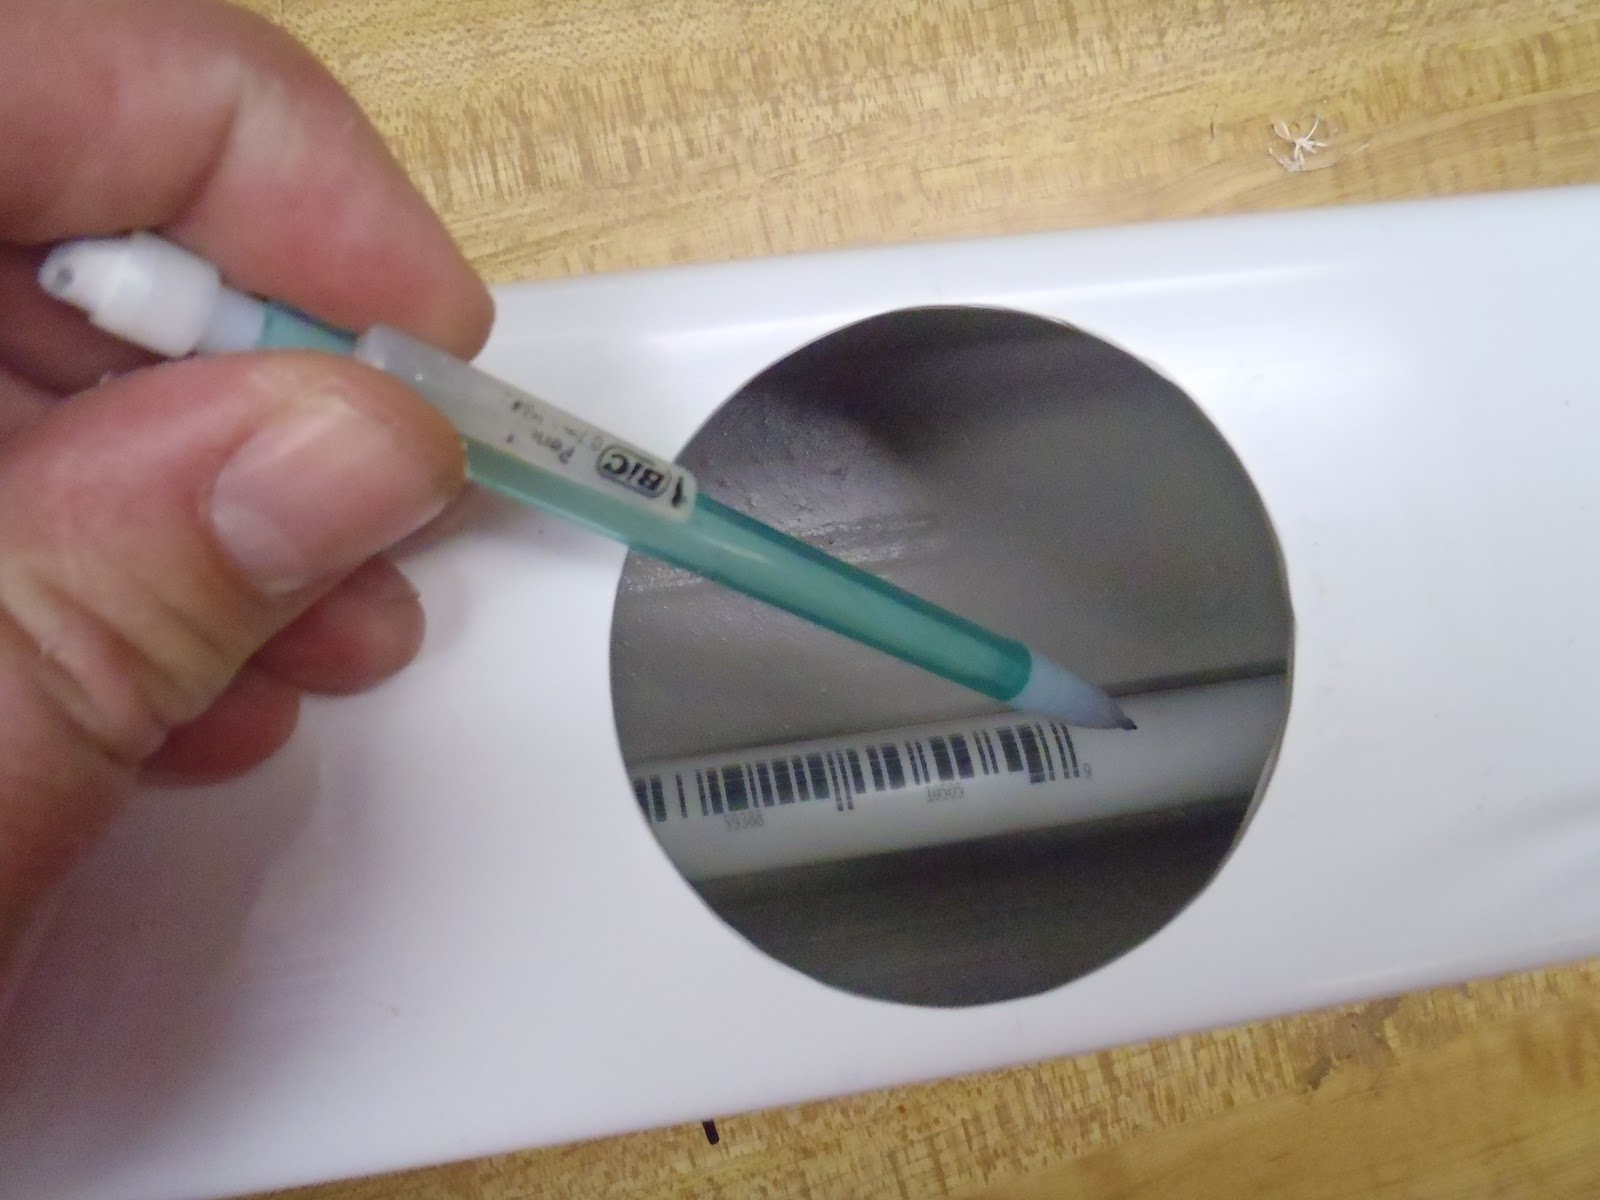
I marked points slightly off from each net cup hole on the 1/2" PVC for the spray nozzles I will be installing.
Then, using an 11/32 (I think) bit, I drilled out five holes along the PVC (the water line).
I set an elbow joint (threaded one end, smooth the other) where I wanted my water intake line to enter the system, and marked that spot on the water line.
The hacksaw will be an invaluable tool for this entire process.
Next, I Dremeled out a hole for the drain out and for the intake using the grommet and o-ring that I will be using to seal these ports up. (on the first version of this, I didn't use grommets, just lots of silicone....not nearly as good!)
I then installed a drain with rubber o-ring into one of the holes I Dremeled, and then forced the PVC elbow into the rubber grommet through the vinyl post.
Into the PVC elbow, I installed a fitting, I'm not sure what it's called, but one end is a 3/8s nipple and the other side is a 1/2 male thread (to screw into the elbow).
I purchased cheap micro misters from the local hydroponics store (about $.50 a piece) and installed them (pretty much just using brute turning force) into the un-threaded holes in the water line.
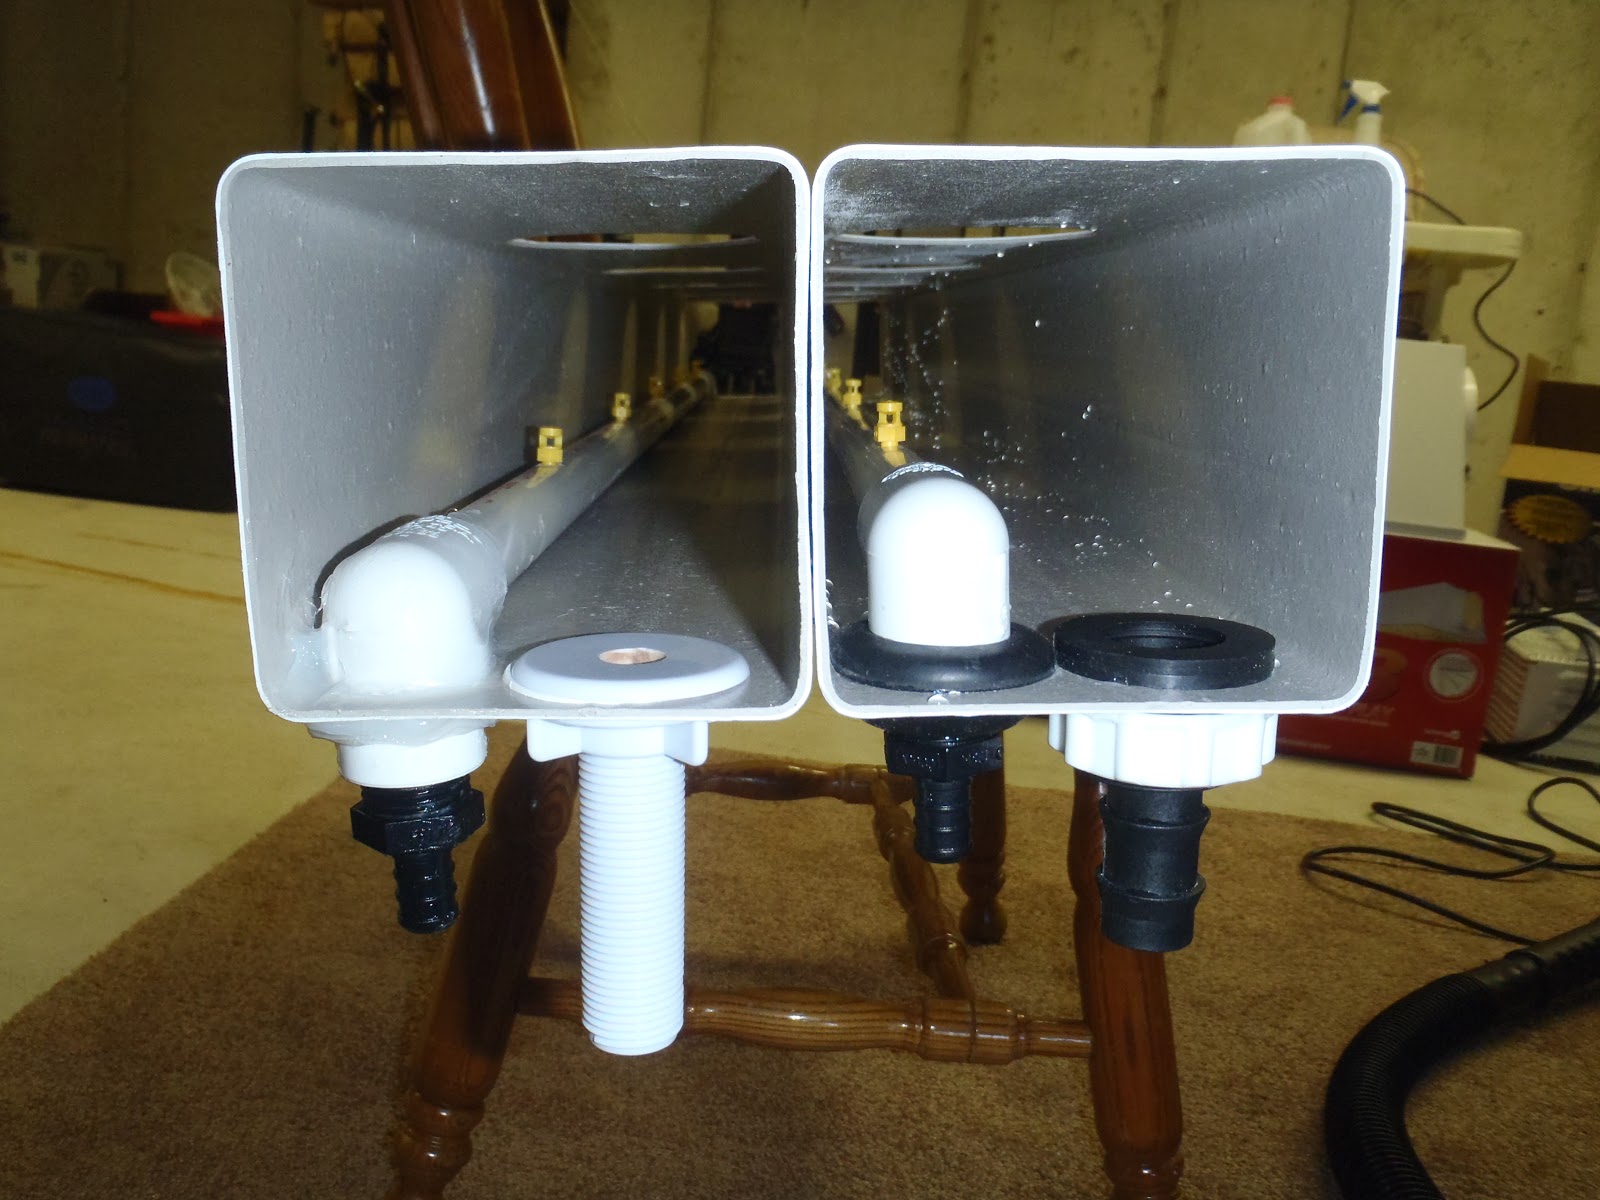
Here is first version, on the left, and second version, on the right. Subtle differences, but neither has been tested yet...
Emma and I built some support stands out of 1 1/4" PVC and some plastic feet that I purchased.
The idea behind the system is the water that's pumped up from the tote sprays the plant roots with nutrient solution, then runs back down the drain into the reservoir (tote) where it is recirculated.
That's all for this evening, more tomorrow on this system, where I'll test it out.
~Jason


